
The problem
What QalamList is
How it's different
Prerequisites
There is almost nothing to install by hand. The deployment script pulls the rest for you.
- Node.js — the one thing you install yourself. It brings
npmandnpx, which everything else hangs off. Any current Node.js LTS release is supported. - A Cloudflare account — the free tier is enough (100k requests/day, 5M rows read). QalamList runs on Workers + D1.
- A GitHub account (ideal) — after purchase you get an invite to the source repo, so you can pull updates.
What ./deploy.sh installs automatically when you run it:
- Project dependencies + Wrangler via
npm install— the Cloudflare CLI comes with the repo. - Your JWT secret is generated with
openssl(already on macOS and Linux, no action from you).
jq is installed before continuing. If you don't have it, install it once: brew install jq (macOS) or apt install jq (Linux). That's the only manual step beyond Node.
Use the qalamlist-ops-companion skill in .agents/skills/ to run its prerequisites workflow — check what I have installed and list exactly what's missing before I deploy.The companion ships in the repo at .agents/skills/qalamlist-ops-companion/. Coding agents that support skills (Claude Code, opencode, and similar) load it from there when you ask; it handles installs, read-only health checks, and deployment without taking production actions until you say so.
Install & deploy
Clone the repo, then run one command:
# from the project root
./deploy.sh
That single script walks the whole path for you, in order:
- checks prerequisites (
npx,jq, Wrangler); - logs you into Cloudflare in the browser (or reuses an existing session);
- creates the D1 database (
qalamlist-db) if it doesn't exist, and writes its id intowrangler.production.jsonc; - applies the schema baseline + migrations;
- generates
JWT_SECRETwithopenssl; - prompts for your Turnstile site & secret keys;
- runs
wrangler deploy.
Use the qalamlist-ops-companion skill to run the doctor workflow, then guide me through ./deploy.sh one step at a time. Ask for approval before running anything that touches Cloudflare or production.First login
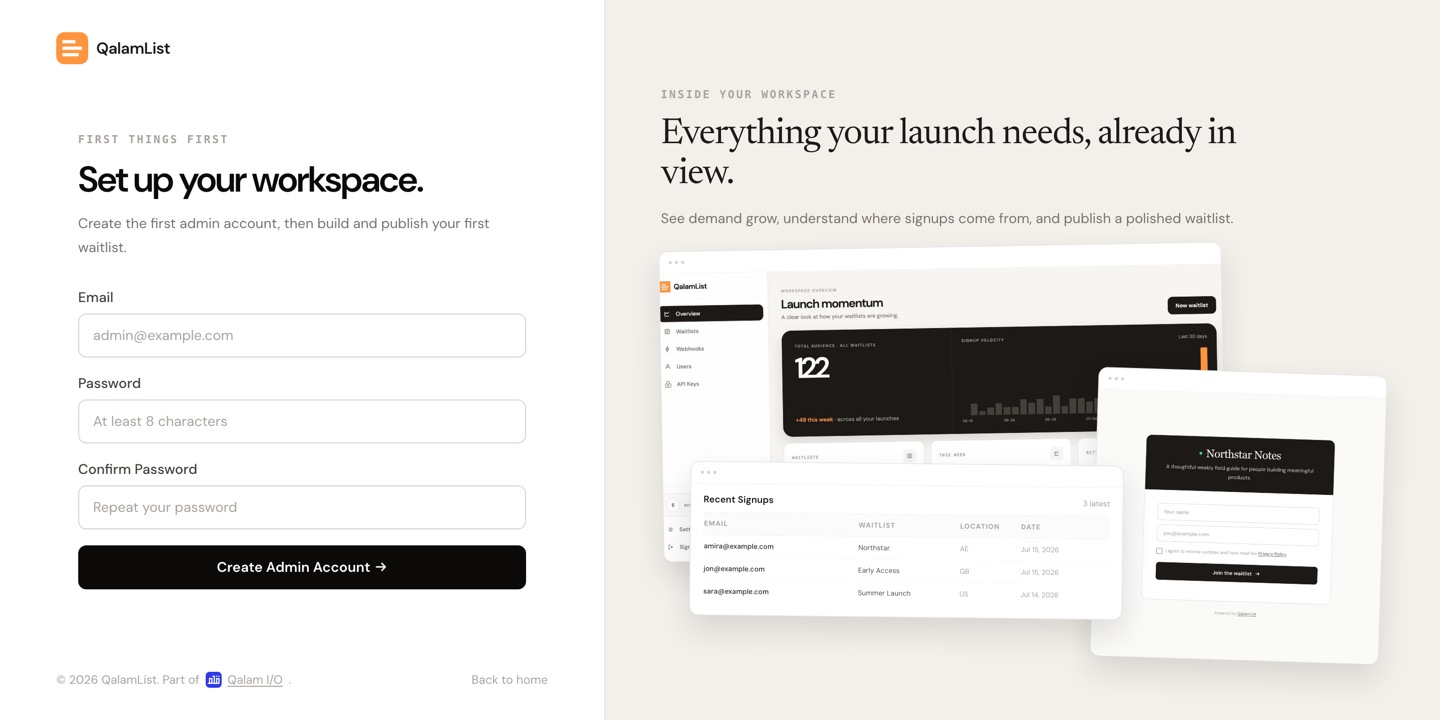
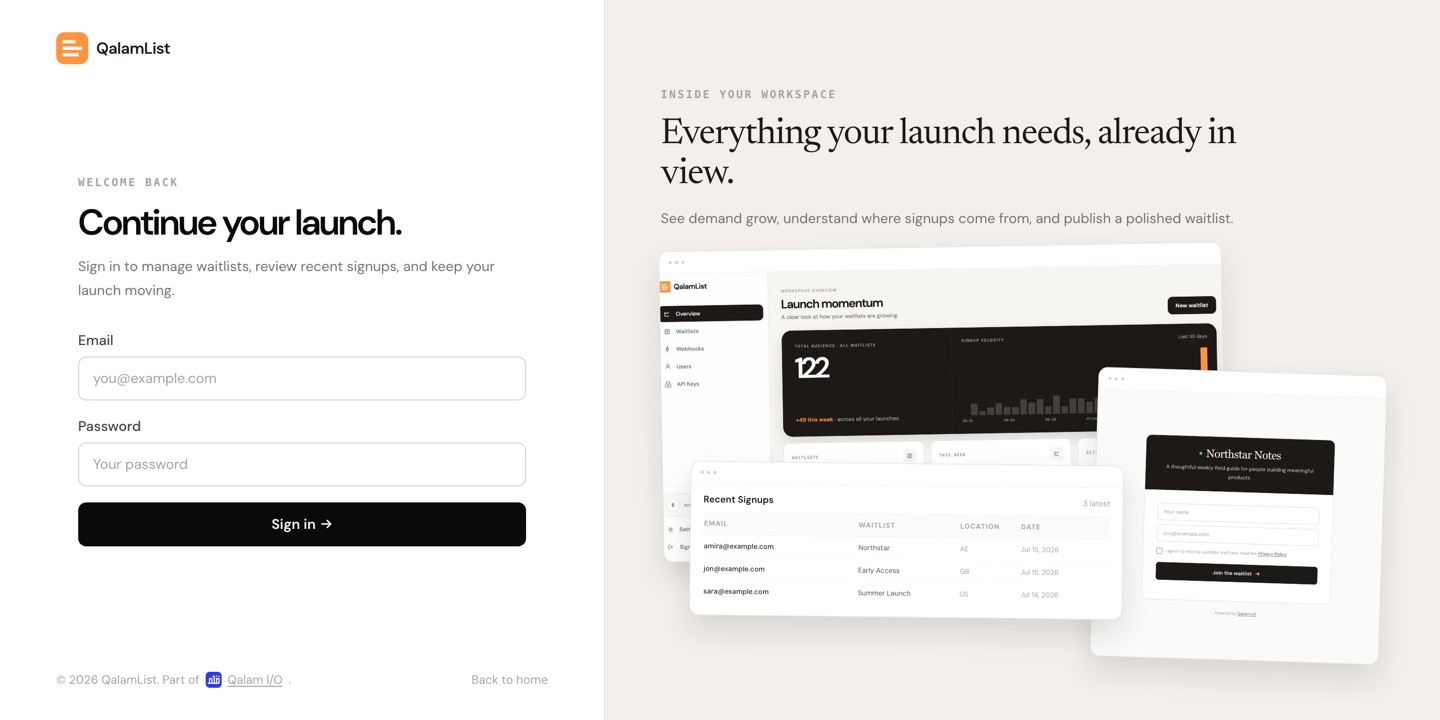
After deployment, open your Worker URL to create your administrator account. On a fresh database the app sends you to /setup — email, password, confirm. That screen appears exactly once; once the first user exists, every later visit lands on /login.
Create a waitlist
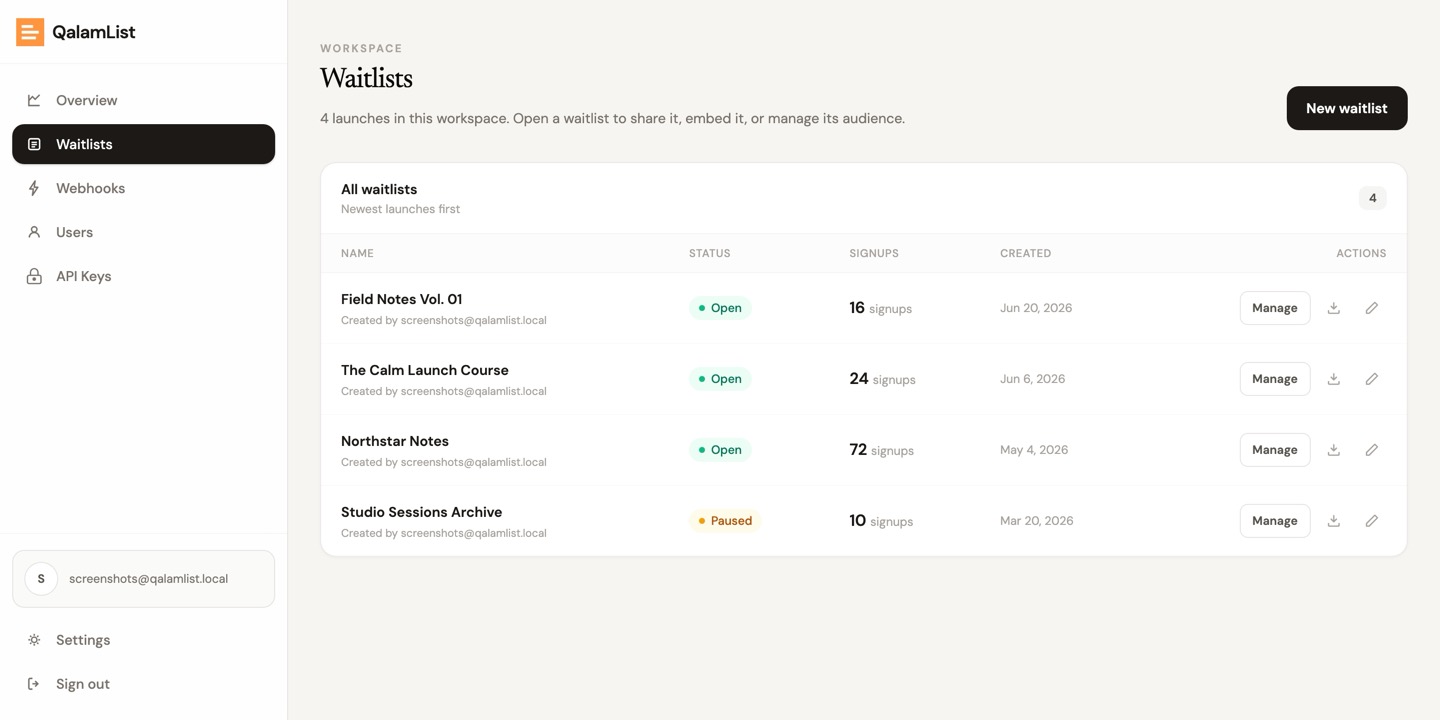
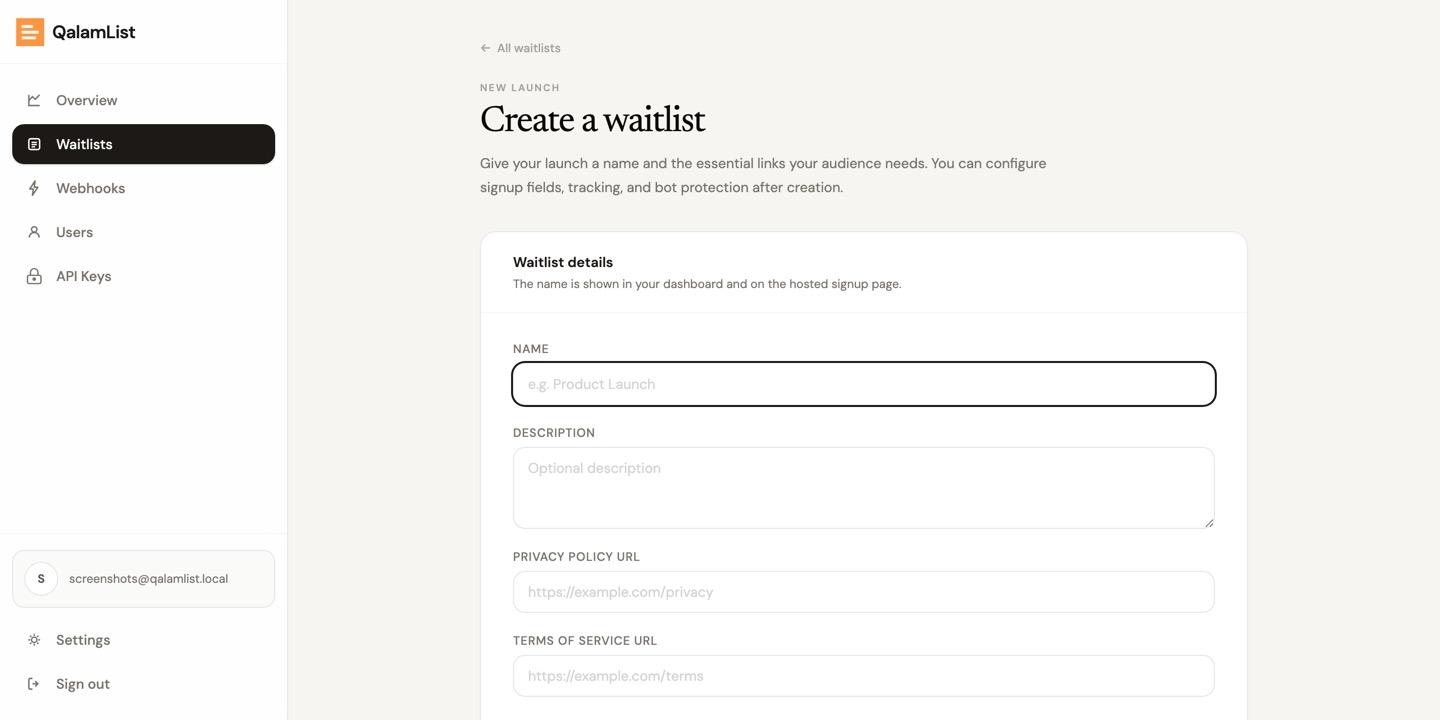
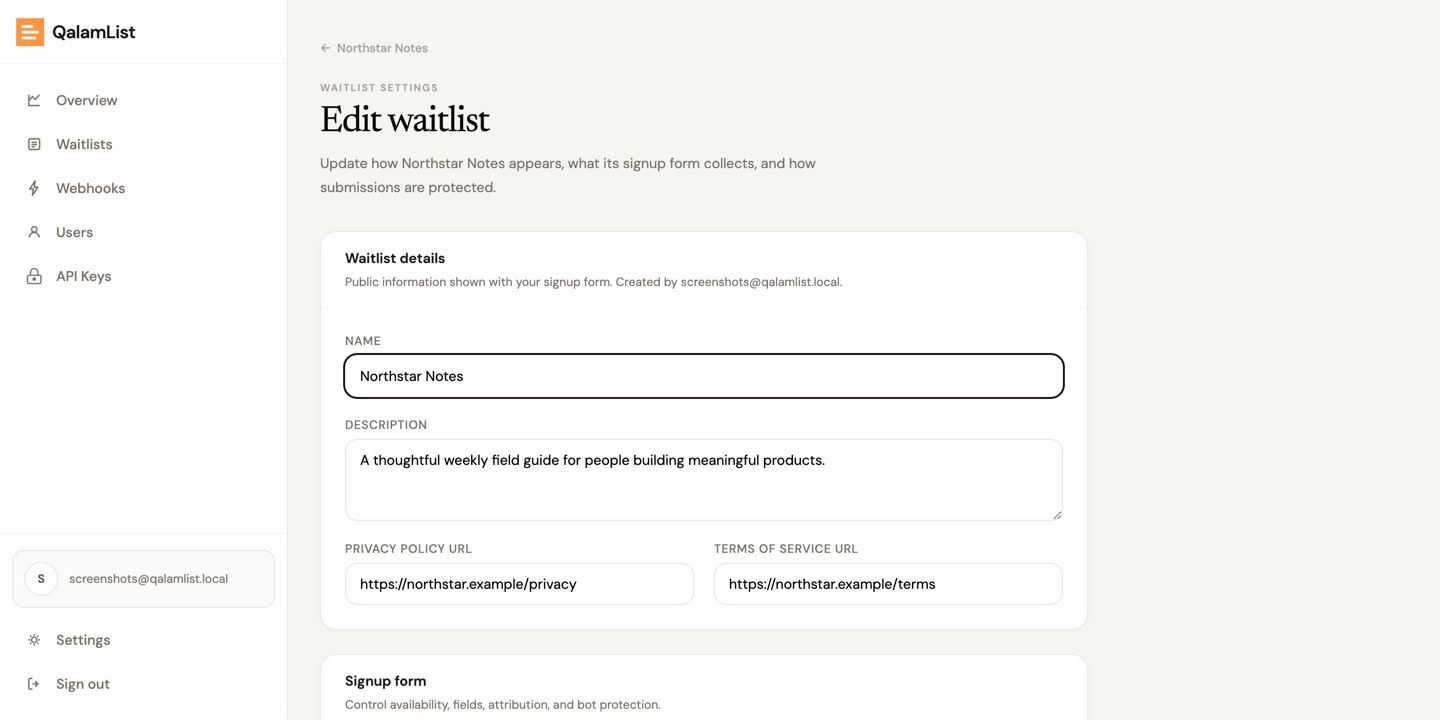
From the dashboard, open Waitlists → New. Give it a name, an optional description, and your privacy-policy and terms URLs if you have them. Leave them blank and the signup form's consent checkbox falls back to QalamList's built-in /privacy page — so you're covered out of the box, and you can point at your own policy later.
Fields & toggles
Open a waitlist and hit Edit. This is where you decide what the form collects and how it behaves. Each switch earns its keep:
- Open for signups — pause without deleting anything. New signups are refused while off; your list stays intact.
- Bot protection (Turnstile) — on by default, and highly recommended to prevent spam and abuse. Turn it off only for low-friction contexts like an internal beta, where you trust the audience.
- Collect name — adds an optional name field. Skip it for a single-tap email capture; enable it when you want to address people like humans.
- Collect UTM attribution — captures first- and last-touch UTM parameters so you know where signups came from. Disable it for privacy-sensitive lists; doing so also empties the source/campaign panels in analytics.
Share the form
Two ways to collect, same waitlist behind both.
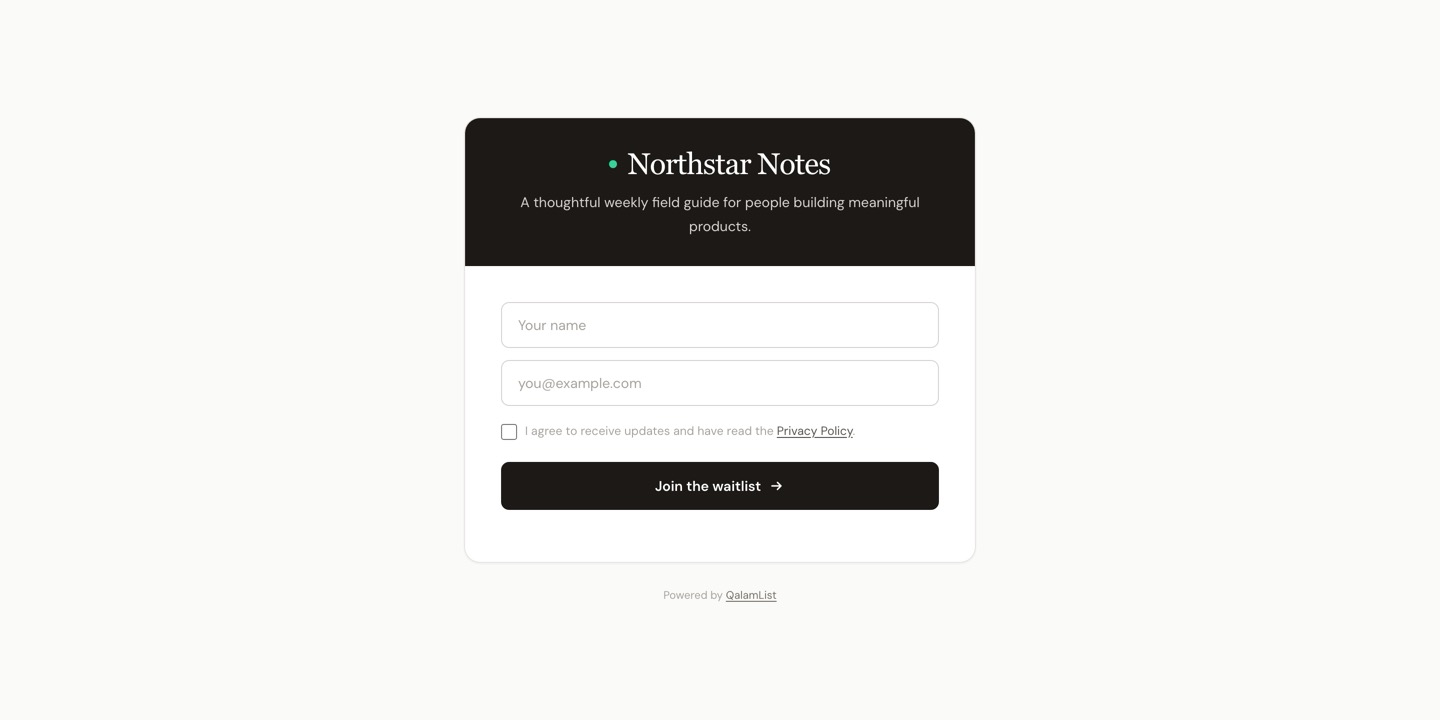
The hosted page. Every waitlist gets a public link at /w/<id>. Copy it into launch emails, teaser pages, social posts — no build needed. The waitlist name sits above the form in a compact dark header. An active list has a quiet green dot beside its name; a paused list replaces the form with a clear closed message. Self-hosted and free Cloud pages show the QalamList attribution, while paid Cloud plans omit it.
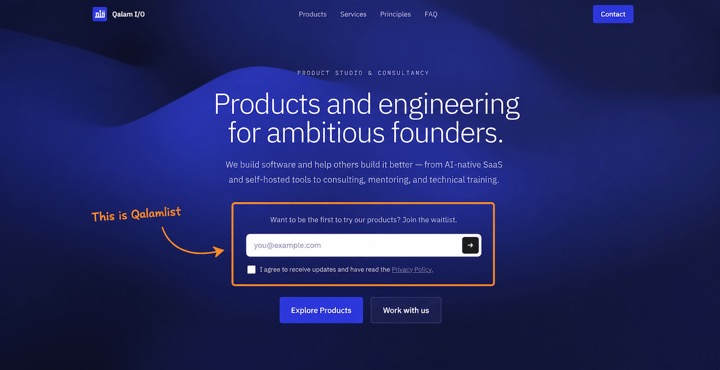
The embeddable widget. Drop a snippet into any HTML page and the form renders inline. It themes with three CSS variables, and the rest derive from them:
<!-- size: sm | md | lg -->
<div class="ql-widget"
     data-size="md"
     data-turnstile-size="normal"
     data-input-class=""
     data-btn-class="">
</div>
<script async src="https://your-host/widget/w/WAITLIST_ID.js"></script>
Theming. Override three CSS variables on .ql-widget and the rest of the widget inherits:
.ql-widget {
  --ql-primary: #ff953d; /* brand / buttons */
  --ql-fg:      #0F0F0F; /* text */
  --ql-bg:      #FAF8F5; /* background */
}- Dark mode: add a
.darkclass to any parent. - UTM capture: if attribution is on, first- and last-touch UTMs are read from the page URL automatically — add
?utm_source=…to any link pointing at the page.
The widget, in action
That's not a mock — it's the live embed rendered inside a real page. The form, the consent line, and the Turnstile challenge all inherit the surrounding site. Override three CSS variables and it matches your brand down to the button.
Managing signups
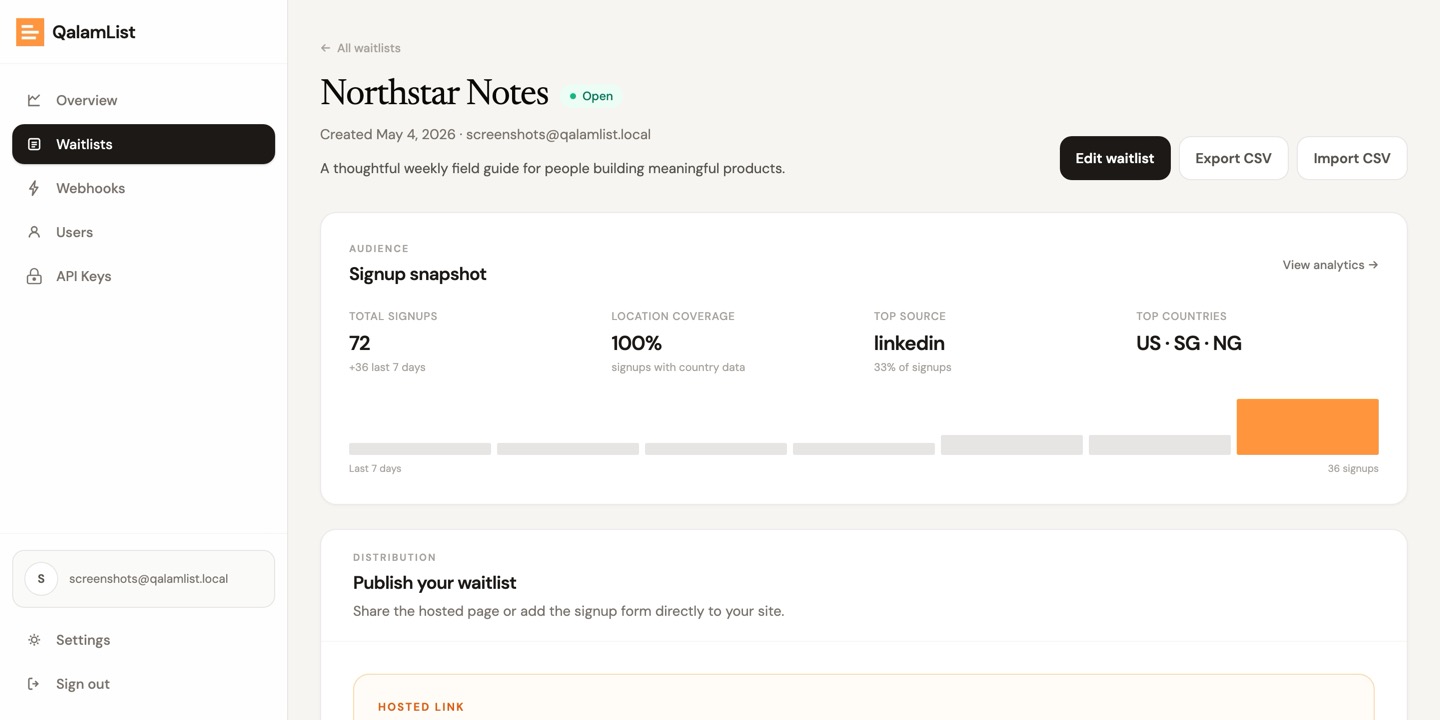
Inside a waitlist, the table is your working surface. Search by email, or filter by UTM — switching between first touch and last touch, and drilling into source, medium, or campaign. Pagination keeps the query light.
- Remove a signup inline (confirmed, irreversible).
- Export CSV for the whole list, or import an existing list back in. The exported unsubscribe URLs are real routes.
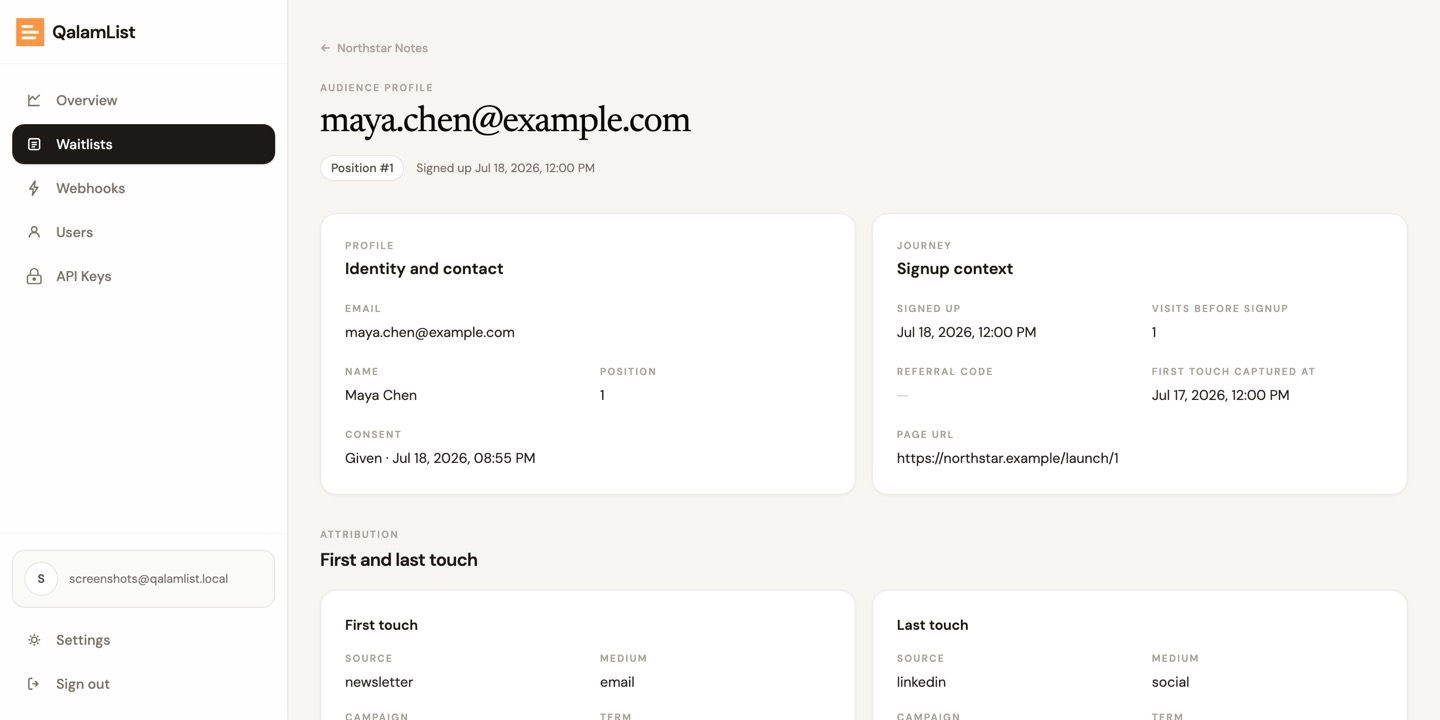
- Per-signup detail — click any row for the full record, including the complete UTM breakdown.
Analytics
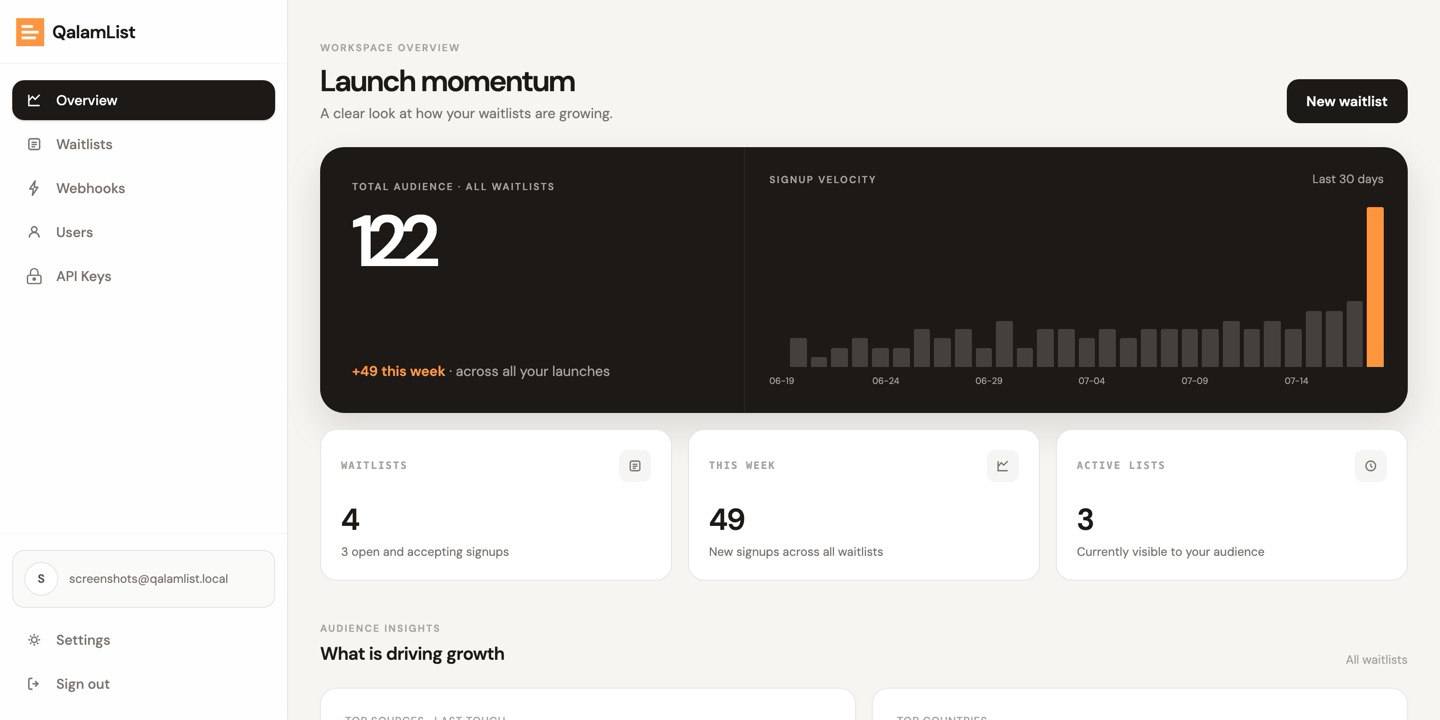
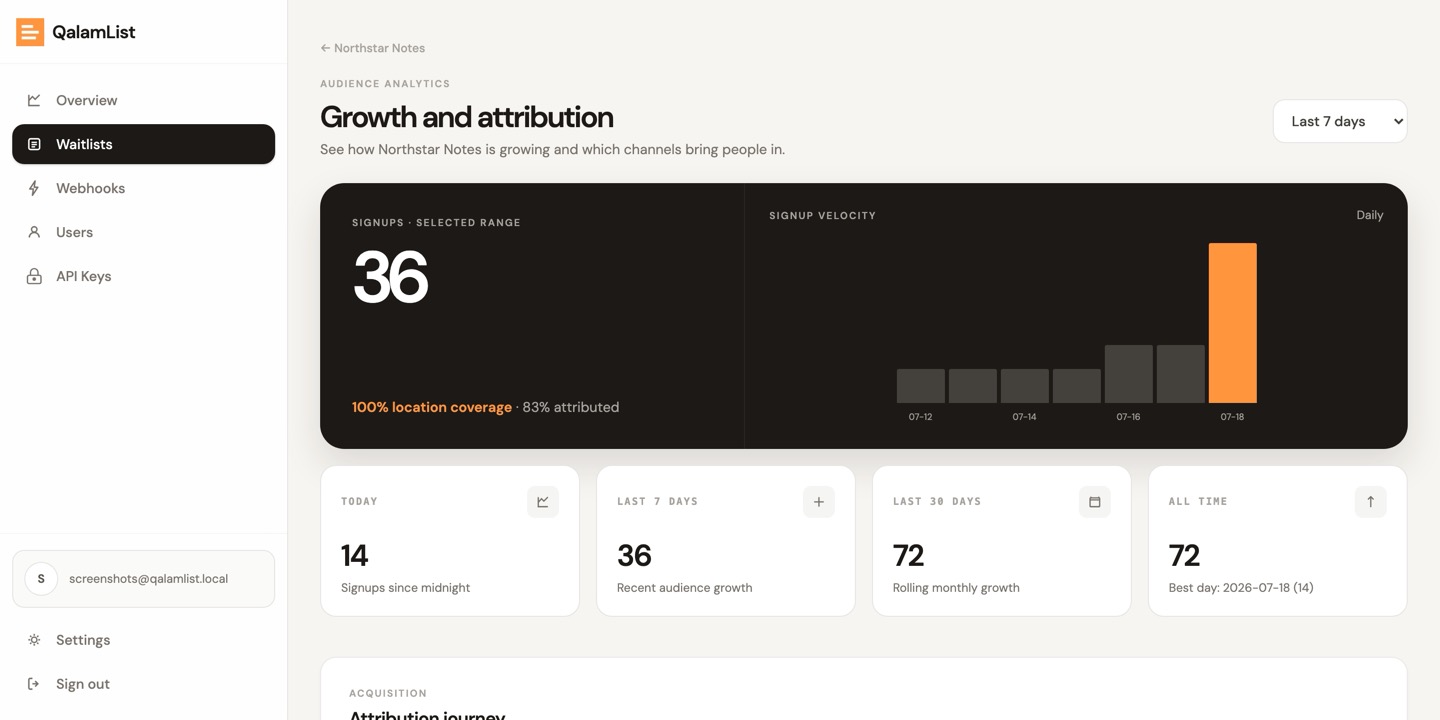
Two levels. The overview rolls up every waitlist in your workspace: total audience, signup velocity, weekly growth, active lists, top sources, and top countries. The per-waitlist view adds today, last 7 days, last 30 days, all-time growth, and location coverage, plus first- and last-touch attribution for deeper cuts.
Team members
You don't have to run it alone. Under Users, add a teammate by email and QalamList creates the account with a random temporary password — no activation email, no reset link. The password appears once in a readonly credential field with a Copy password action; copy it immediately and share it over whatever channel you trust.
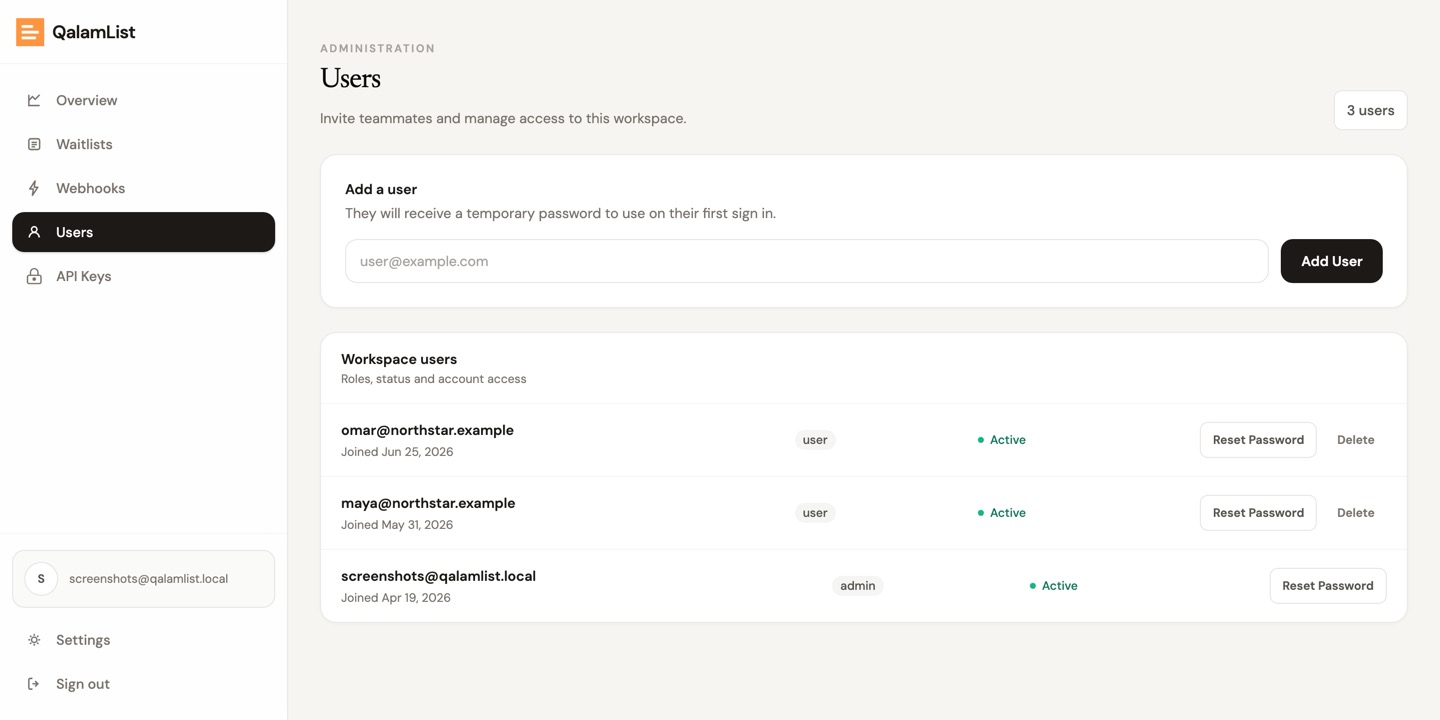
On first sign-in they're sent straight to /reset-password and have to set their own before doing anything else. Need to let someone back in? Reset Password reveals a fresh copyable credential once and flags the account for a forced change again. You can't delete your own account, and every add, reset, and delete is written to the audit log.
Workspace settings
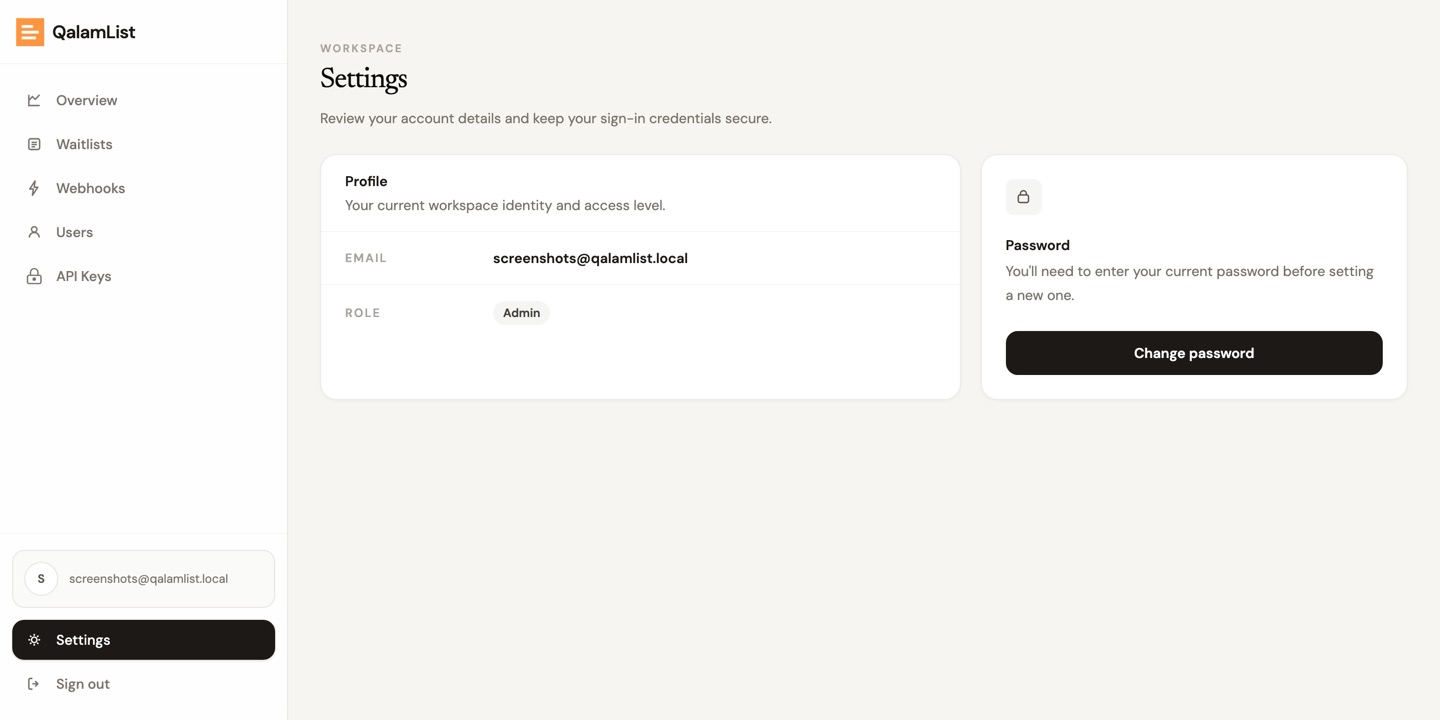
Use Settings to review the current workspace identity and your access level, or change your password after confirming the current one.
The REST API
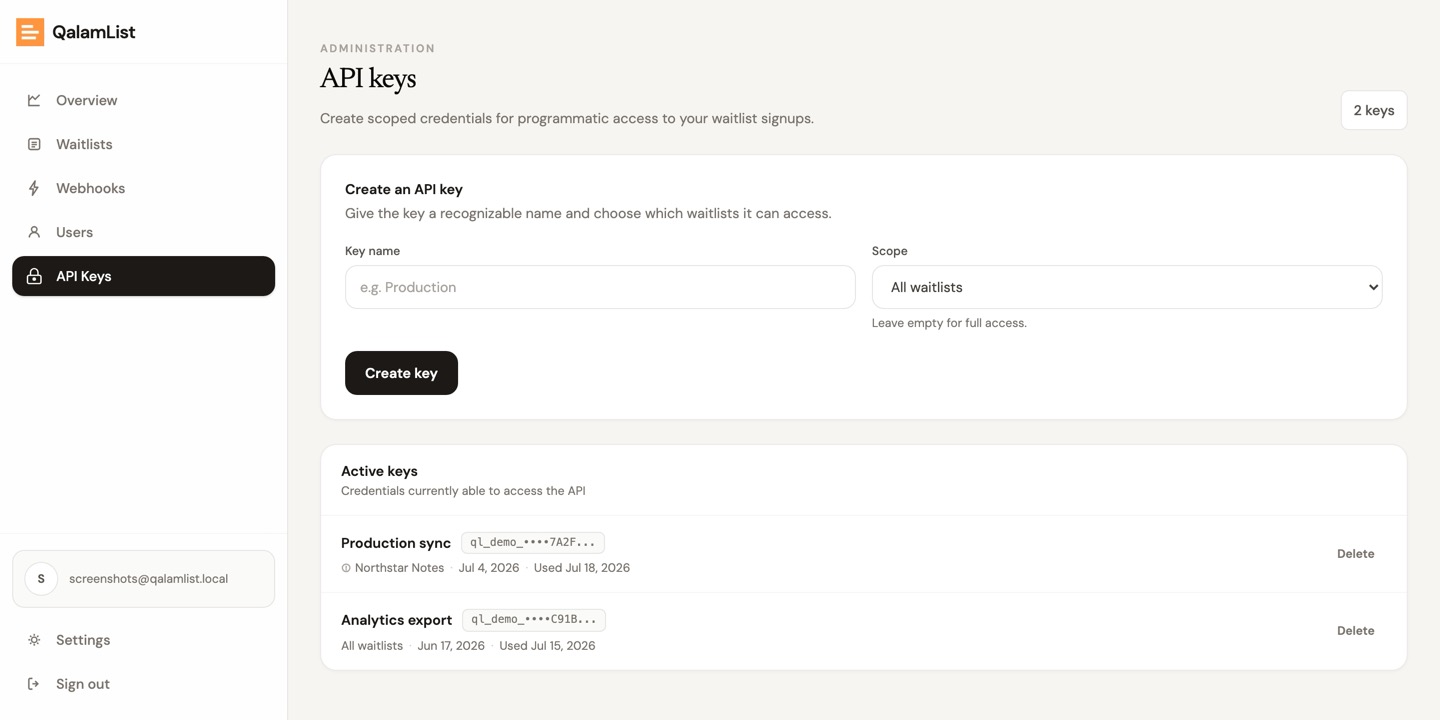
Want to wire QalamList into your app or other tools? Covered. QalamList ships with a REST API you authenticate to with API keys — scope a key to a single waitlist, or leave it open to all of them. Create one under API Keys; the full key is shown once at creation, so copy it then (or rotate it later).
The API is OpenAPI-first — every endpoint is documented and can be imported into Postman, Bruno, or Insomnia, or generated into client SDKs. Browse and try them live in the interactive API docs UI. A typical signup call looks like:
curl -X POST https://your-host/api/w/WAITLIST_ID/signups \
  -H "Authorization: Bearer QL_API_KEY" \
  -H "Content-Type: application/json" \
  -d '{"email":"friend@example.com","name":"Friend"}'
Two things worth knowing: the API path skips Turnstile — your key is the auth, so the challenge only guards the public form — and requests are rate-limited per IP to keep abuse bounded.
Webhooks & integrations
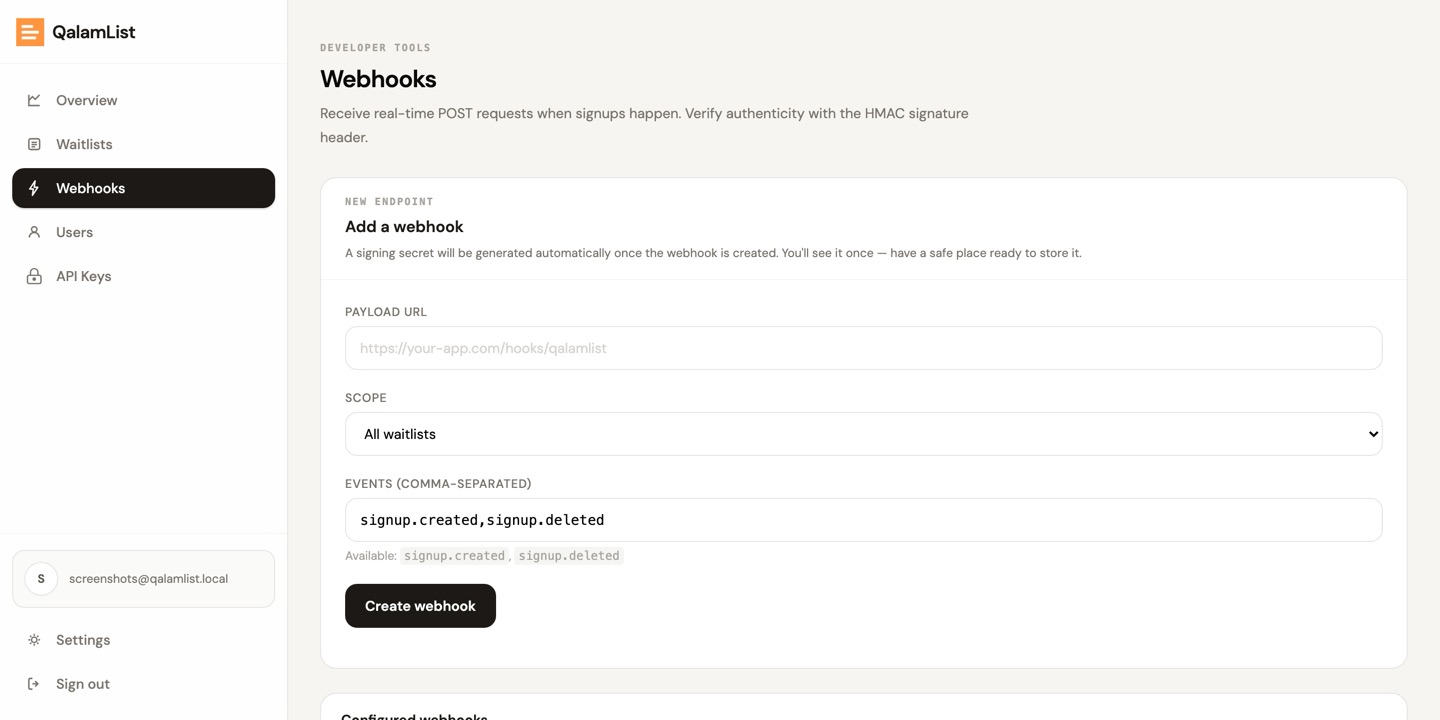
Don't poll. Create a webhook under Webhooks and QalamList POSTs you a signed event every time someone signs up. Each delivery carries an X-QalamList-Signature header — an HMAC-SHA256 hex digest of the raw body — so you can prove the request came from you.
Verify on your end before trusting the payload:
import crypto from 'node:crypto';

export default function handler(req, res) {
  const sig = req.headers['x-qalamlist-signature'];
  const expected = crypto
    .createHmac('sha256', process.env.QL_WEBHOOK_SECRET)
    .update(req.rawBody)            // verify against the raw body
    .digest('hex');
  if (!safeEqual(sig, expected)) return res.status(401).end();
  // …do your thing with req.body
  res.status(200).end();
}